Thursday 14 December 2017

Christmas Card Madness part 2

Hi Crafty Friends,
Well, you all asked for it so here it is.  I have finally created a tutorial on how I created my Staircase Stepper Card for Christmas 2017.  I have kept some of the basic embellishing in fast forward but if there is anything that you would like help with, please just ask.  I would love to see what you all come up with.  Today is the last day of school for my daughter this year.  She is an amazing crafter and I am so inspired by her creativity.  I'm really looking forward to spending the holidays creating and playing with her.  I don't often talk about my children because of their privacy online, however, each day I am reminded of all thats good in the world.  She is not only beautiful (yes, I'm biased) but such a dedicated student and is always happy to help me whenever I need it.

My fur babies are growing every day too. They are now eating and have just started running and playing with each other.  They look so funny when they run, just like fluffy little Teletubbies. Who remembers those?


Wednesday 13 December 2017

Christmas Card Madness!

Hi Crafty Friends,

Today I finished off my Christmas cards for 2017 and I am in love with the gorgeous little Dachshunds from the bundle, Ready for Christmas.  I was inspired by a card that was made by Doris Pichler.  I changed min up a bit but you can view hers here. I wasn't able to give credit before as I couldn't find the original post.  These cards did take a while to make but I'm super happy with the result. I love a good 3D project and to be able to put this into a card is right up my alley.  What do you think? What's your favourite 3D project to make?


For this card I used the Ready for Christmas Bundle, At Home with You Bundle, as well as Hardwood background stamp and assorted inks and texture paste.  Classes have finished for the year, however, If you live in the Coffs Harbour region and would like to come along in the new year, just let me know. We are always happy to welcome new crafters to our group.


 Till next time,
Stay Crafty,
XO Tan


Friday 8 December 2017

Camera Box with Mini Album

Hi Crafty friends,

Today I'm sharing with you my latest project. Well, I actually came up with it for my daughter who just went on her first big camp away from home.  It's a super cute camera styled box complete with a shaker lens.  The lid of the box opens up to reveal a space to hold 2 mini albums including photos.  The albums will hold up to 20 photos each as well as other memorabilia.  Ive used the dashing new paper line from Stampin' Up! True Gentleman DSP.  The colours are so rich and the images are so cute.  I know that this paper is going to be a favourite of mine.  I hope you like this album and if you would like to make it as well, I have a tutorial and step by step video available for purchase.  Once you have purchased the tutorial, you will be emailed with the link.  As always, if ever there is a problem, just let me know and I will try to fix it asap.
What do you have planned for the week?  I'm planing a Christmas party for my lovely ladies and hosting a thank you event for them.  Crafty friends are really the best kind.


Till next time,
Stay Crafty,
XO Tan


Camera Box & Mini Album
br />

Here is daddy spending time with his babies for the first time.  Mummy is letting the babies see him. Too cute1


Wednesday 6 December 2017

Tool Bench Fold Card

Hi Crafty Friends,

I have a brand new tutorial available for this stunning bench fold card.  This tool bench is a real stand out piece that is surprisingly simple to make.  I hope this is something that you will try yourself at home.  The card folds perfectly flat for mailing.
I hope that I have inspired you to make something like this.  Please share your designs.  I love the creativity of others and we should all inspire each other.

On another topic, My fur babies are growing so much each day.  They are now walking and have discovered there is a world outside their bed.  They are beginning to play with each other.  They are just too cute for words.  I know.....I know......I'm a crazy dog lady.....

Until next time,
Stay Crafty,
XO Tan


Suitcase Mini

Hi Crafty Friends,

Today I'm sharing with you a super cute little project.  It's what I call the Suitcase Mini.  The outside looks like a miniature suitcase, but when you open it up it reveals a accordion style mini album.  The finished size of this project is 4 3/4" x 4 1/2" x 1 1/4" excluding the handle.  This project can be completed within an hour. There are many occasions when this style gift would be great to give.  If someone is going away on a trip, leaving for college, moving out into a new home or just because.  You can view the complete tutorial here


.

Monday 4 December 2017

Bike Ride Easel Card

Hi Crafty Friends,


Tomorrow we are celebrating a special friend's birthday.  I love my extended crafty family and always try to give them something that they will cherish.  This is the card that I made for her.  There is a tutorial for this available here.

Below are the steps for this card. I hope you like it and give it a go yourself.

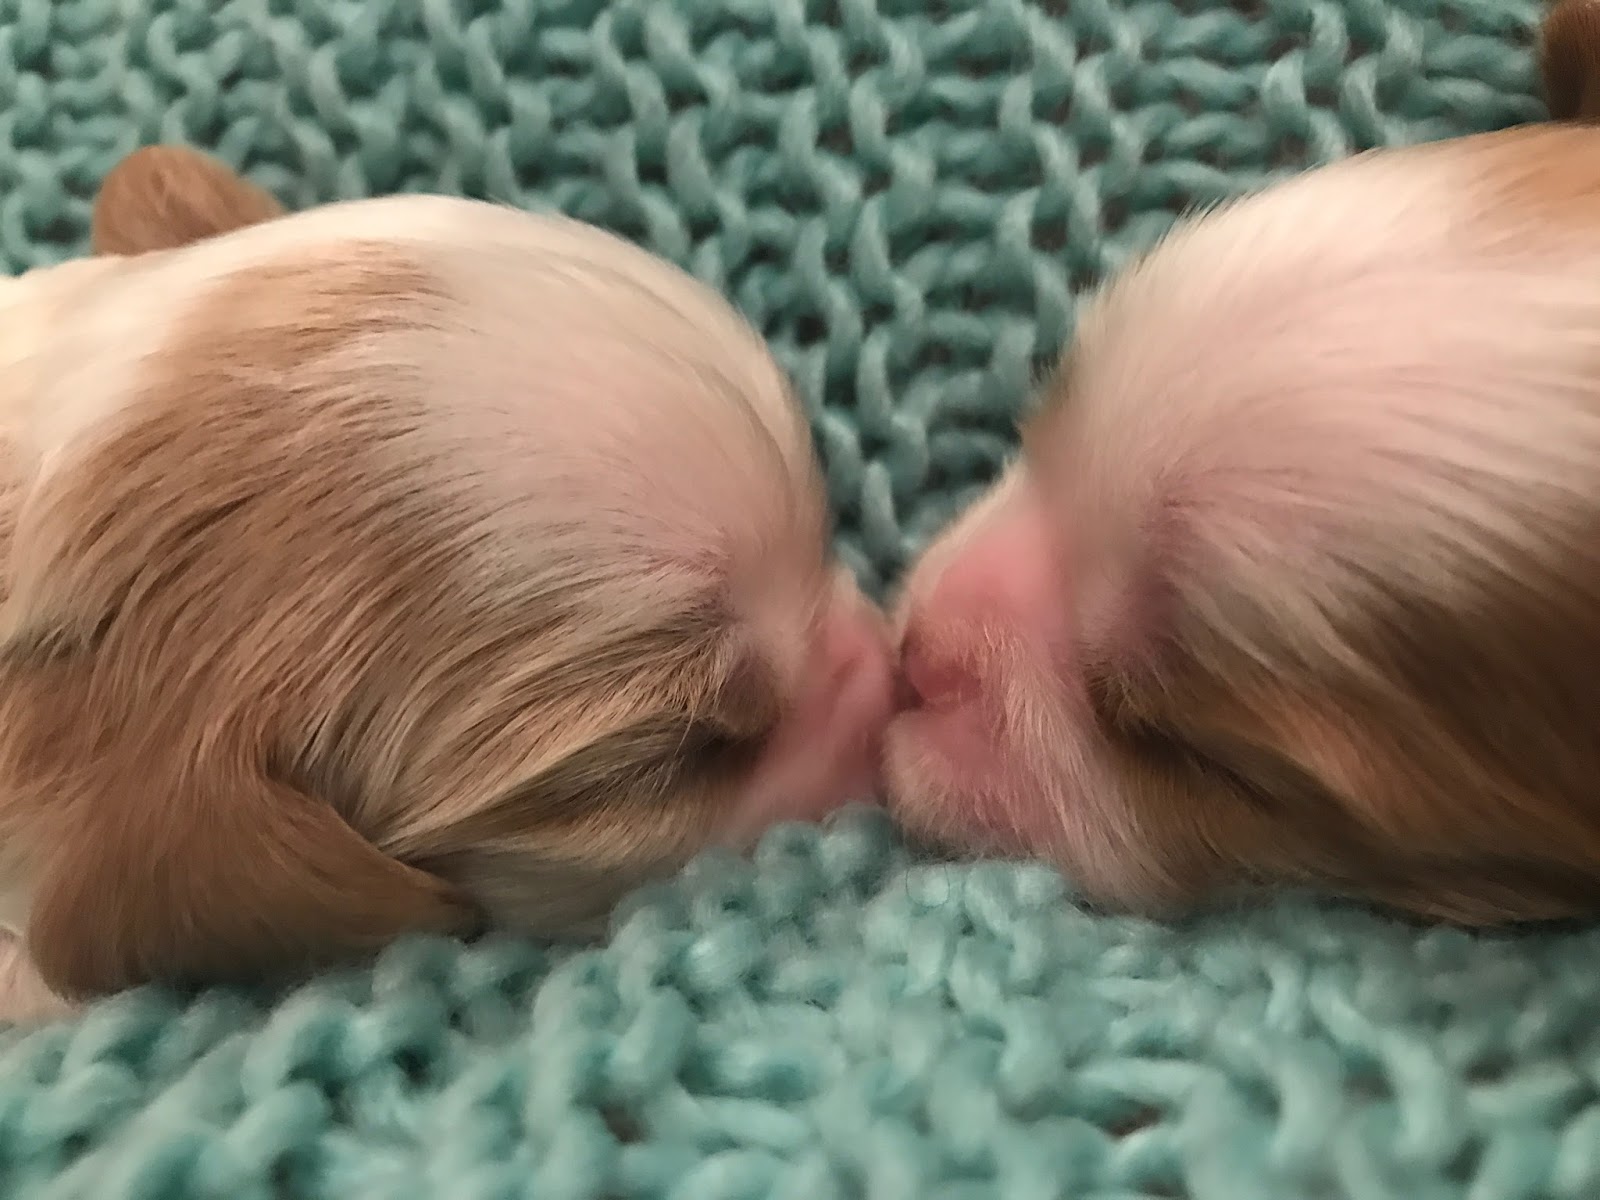
My fur babies are growing so much every day.  They are now able to walk a little and are starting to want to venture the outside world.  I just love them so very much.  One look into those beautiful round eyes and I'm gone.  We will be adding to our Fur Family at the end of January.  My daughter is going to get her very own fur baby and we can't wait.

Until next time,
Stay crafty,
XO Tan


Ingredients:
Cardstock –
Whisper White  – 6 x 12 (15.3 x 30.5)
                                    5 ¾ x 5 ¾ (14.6 x 14.6)
                                    Plus scraps for stamping

Old Olive  -     5 ¾ x 5 ¾ (14.6 x 14.6)
Silver Foil  -    6 x 6 (15.3 x 15.3)

Inkpads –
Memento Tuxedo Black
Soft Sky
Old Olive
Sahara Sand
Soft Suede
Real Red
Smokey Slate
Dapper Denim
So Saffron
Calypso Coral


Stamp Sets & Dies –
Bike Ride S/S
Sheltering Tree S/S
Birthday Banners S/S
Bunch of Banners Framelits
Layering Ovals Framelits

All the other bits and pieces –
5” Mini Sequin Trim (Silver)
Mini Dimensionals
Stamp N Pierce Mat
Tombow
Sponges
Snips
Trimmer N Scoreboard
Bigshot
Copy Paper
Washi Tape


The Simple Steps –

1.     Score the 6” x 12” Whisper White piece at 6” & 9” on the long side.  Fold piece in half and the half again on one side.
2.     Take the 6” x 6” piece of W/W and secure to your work surface with a small amount of snail on the back.
3.     Tear the copy paper in a curve so that it looks like a hill.
4.     Secure the lower portion of the hill on the lower third with washi tape.
5.     Use a section of sponge and blend Soft Sky ink in a gentle swirling motion.
6.     Remove the lower section of copy paper and place the other piece over the top of the sky you just created.
7.     Repeat this process using Old Olive ink for the grassy area.
8.     Stamp grassy areas with the stamp from Sheltering Tree in Old Olive  randomly throughout the hill.
9.     Gently remove the inked panel and centre on the Silver Foil panel.
10. Place the largest Scallop oval die in the centre of the panel. Run through the Big Shot together.
11. Take only the inked panel and place the largest oval die and centre it over the previously cut scallop oval. Cut in the Big Shot.
12. Adhere the sponged piece to the foil piece.
13. Place sponged image on top of the folded easel piece.  Using a pencil, trace the aperture. Using the same scalloped oval that was used on the foil piece, cut out this folded piece.
14. Adhere the sponged piece to the cut easel piece using Fast Fuse.
15. Take the scrap pieces of Whisper White and stamp the bicycle parts using Memento Tuxedo Black.
16. Stamp the highlights for the bicycle using Soft Sky
17. Stamp the basket and dog using Sahara Sand
18. Stamp the apples and any other items you want to include in your card.
19. Put your bicycle together using Tombow Mono.  Adhere the bicycle using dimensionals in the centre of the card so that it rests just under the oval aperture.
20. Add the front and back baskets using extra dimensionals.
21. Stamp a banner from Birthday Banners using Dapper Denim Ink.
22. Stamp the ‘Happy Birthday’ greeting in Real Red, curving it as needed to fit within the banner. Attach with Dimensionals.
23. Adhere the Old Olive piece to the large open square of the easel piece using fast fuse.
24. Stamp a greeting onto the bottom half of the Old Olive piece.
25. Place some stamped and die cut flowers on either side of the stamped greeting.
26. Place 3 gems above the greeting to function as a stopper for the easel.


Enjoy!

Wednesday 29 November 2017

Say Cheese!

Hi Crafty Friends,

Wow! I am so overwhelmed by the support I've had for my Advent Calendars.  I can't wait to see how everyones turns out.  These really come together quite quickly and are such a lovely addition at Christmas.  Tonight is the night when my children and I fill our calendars and really start the Christmas excitement.


I have been busy creating again.  When my daughter went on her year 5 camp to the snow this year, I wanted to give her a special album.  I came up with a box that looks like a camera but on the inside, there is a mini album.  I wanted to keep things simple and this is her special place for her favourite photos from her camp.  You can make this in an evening and it is a great way to showcase all the gorgeous papers that we all love so much.  I know I have a bit of a paper addiction,  I am working through it though.
I will produce a tutorial shortly for this, so stay tuned.

Our gorgeous Cavie puppies are getting bigger each day.  Their eyes have all opened now and they are trying to walk.  So darn cute.


Till next time,
Stay Crafty,
XO Tan


Monday 27 November 2017

Christmas Advent Calendar


Hi Crafty Friends,
Recently I shared with you one of my Advent Calendars that I've made for my family.  I have written a tutorial for this project and you can purchase this for only $3 USD. This tutorial will come with written and video step-by-step instructions.  This is the first time I've done a paid tutorial and I hope that it is ok with everyone.  Please be patient with me as I am working it all out as I go.  Let me know if you have any concerns with the tutorial and I will do what I can to help.  These calendars come together quite quickly and they are truly an heirloom piece.  If you would like the full instructions and comprehensive video tutorial, please press the PayPal button and follow the links to purchase.  I will then send you a link to the tutorial video and file.

Till next time,
Stay Crafty,
XO Tan


P.S. My gorgeous Cavalier puppies are just opening their eyes. They are just way too cute for words.


Christmas Advent Calendar $3.00 AUD


Sunday 26 November 2017

Makin' Minis

Hello Crafty Friends,

It's been pretty hectic here. From puppies to paper, we've been making something.  I have been busy making mini albums again. These take me back to my happy place. I am slowly converting all my store bought albums to handmade mini albums.....and I love them.  This way I can share my creativity for years to come. With each turn of the page, there is loads of colour and individuality.  I am able to store all kinds of memorabilia's as well as the all important photos.  I am completely in love with Stampin' Up's range of patterned papers.  They fold beautifully without cracking and look amazing.  Tell me what you think? What is your favourite paper?


Till next time,
Stay Crafty,
XO Tan


Sunday 19 November 2017

Online Extravaganza Awesomeness

Hi Crafty Friends,
Has everyone been busy creating awesome projects? I have been working hard on projects for the upcoming Christmas markets. From mini albums to advent calendars, and even a few cards, paper and ink has been flying everywhere. My favourite product at the moment has to be hands down the amazing new Stampin’ Blends. I’ve been addicted to alcohol based markers for colouring for many years, but the new Blends are so easy and fun to use. I’m even converting my non colouring friends. The colour glides on easily and you achieve a seamless blend by just using the light and dark shades.
If you are interested in the Stampin’ Blends please drop me a line. One fabulous way to get your hands on these new markers for a discounted price is by joining as a demonstrator.  It’s certainly been the best crafty decision I’ve ever made.

Now......serious business......ONLINE EXTRAVAGANZA
for 24 hours starting at midnight, Stampin’ Up are having a flash sale. Many products greatly discounted. Hmmmm....only an hour and a half to go....looks like i’ll Be staying up haha.
Till next time, Cuddle a Cavie!
Stay crafty,
XO Tan


Saturday 4 November 2017

Advent Calendar Craftiness

Hello Crafty Friends,

It's been a busy week here at the Zoo! We are once again on puppy countdown with only a week to go. Also with a week to go is Onstage Local.  I will be going up to the Gold Coast and can't wait to see other crafty friends at this amazing event. I will also be visiting my Son who lives up there. He has just had a birthday and it was the first time I haven't been there for his birthday. They grow up so quickly.....
Now, on to seriously crafty business.....
......Advent Calendars
I have had so much fun with these. Advent calendars are a tradition in my family. My three children have a fabric calendar that I made 12 years ago for them and every year on the 30th of November, we fill our calendars with sweets. It is one of the things my children look forward to about Christmas.

This year I decided in the theme of all things crafty, I would make one out of cardstock.  I was inspired by a picture I saw on the web, as soon as I can find it I will link to it.
The cover is made with thick chipboard and all the boxes are made with regular SU! cardstock.  These calendars fold to look like a book and they open up to display 24 little boxes where you store your treats.

Friday 20 October 2017

Mini Mini

Hi Crafty Friends,
Wow! It sure has been a long time since I last was here.  I am sorry it's taken so long however, I had personal and health issues that needed to be addressed. Good news is I'm back and ready to get crafty again.  There has been so much happening lately that I will have to share it with you over the next few days.


Today I'm sharing a super cute mini album.  This is made with just one sheet of cardstock. I will be posting a tutorial for it tomorrow, so stay tuned.  I have decorated the album with the gorgeous new paper stack, Quilted Christmas from Stampin' Up!  At first I wasn't totally in love with this paper, but wow, I'm hooked now.  The patterns are so versatile and there are many different uses for this paper.  I will definitely be getting some more before it runs out.


The album measures just under 3" x 3" and 1/2" thick.  They will make such cute little gifts or stocking stuffers.  I hope that you will give them a try and tell me what you think.


Until next time,
Stay Crafty,
XO Tan

Wednesday 31 May 2017

Magic Reveal with Splitcoast Stampers!

Hi Crafty Friends,

Today is the day! I am guest designer at SplitcoastStampers. I am really looking forward to seeing all the amazing creations that everyone comes up with. Hopefully everyone will get involved and check it out.  You can find my tutorial here.  What would you like to see next? I am working on something else but you just have to wait for it hahaha.

This Sunday I will be at the Made With Love Markets again. You can find me at the Northern end of the Park Beach Plaza car park. This markets is wall to wall full of amazingly talented crafters from all over the Northern NSW area.  Wether is be sewing, paper crafts or any other hand made items, you can find them all here. So, please come and say hi if you are in the area.  I always love to meet new crafters.  I will be starting up  my social groups again soon so let me know if you are interested in coming along.

This is the scrapbook page I made to highlight the Magic Reveal Spinner Card.


Until next time,
Stay Crafty,
XO Tan

Tuesday 30 May 2017

Exciting Days Ahead......


Hi Crafty Friends,


I hope everyone is off to a great start to the week.  On Saturday I held my catalogue launch party.  There was an amazing turnout of friends, some of whom I hadn't seen for quite some time. It was wonderful to catch up and share with everyone some of the amazing new products.  Everyone got their own goodie bag which was jam packed with freebies and essential items needed for the new catalogue.
I always love the start of a new catalogue. The excitement of all these new items is just like how I used to feel just before Christmas.  If you haven't seen it yet and don't have a demonstrator, please contact me and I would be happy to send you a catalogue.  I know I say it every year, but this is the best one yet.  It really is jam packed with awesome new products, as well as some old favourites.  My absolute must get for the new catalogue is the amazing Eastern Palace bundle.  The papers are truely luxurious and the dies are probably the most versatile die set I have ever seen.

Next up in my life is my beautiful Cavies.  Coco is an amazing Mumma.  Her babies are all gaining well and some have even started to walk. Today they are 3 weeks old.  All have opened their eyes and ears.  I love being a surrogate fur momma. I often think about how lucky I am to be able to fill my life with Stampin' Up! and have my family, friends and Cavies by my side. This truly is the best job in the world.  If you are interested in how you can make new friends, get great products at a discounted price all while crafting your heart out, please call me and we can talk about this awesome opportunity.


Finally, Tomorrow is D Day!
Tomorrow Im going to be a guest artist with Split Coast Stampers.  Can you believe it??? Me!
The amazingly talented Dina Kowal has been collaborating with me to bring you the Magic Reveal Spinner Card.
Please take the time to check out all the other fabulous tutorials that are on offer there.  Make sure you make yourself a huge cuppa and have a comfy spot as you're going to be there a while.  Just as addictive as Pinterest.

Until next time,
Stay Crafty,
XO Tan